Setup Your GFI Notify Power Outage Alert
Step 1 – Configure your Meross App
Step 2 – Setup Notifications on your GFI Notify Account
Step 3 – You’re done!
You’ll need to purchase the GFI Notify App before completing these steps. When you receive your Meross SmartPlugs in the mail, follow the steps below.
Step 1 of 2: Configure Your Meross App

A. SETUP YOUR FREE SMARTPLUGS
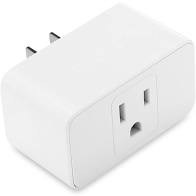
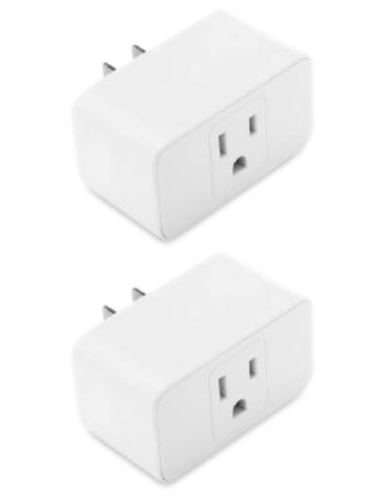
Every GFI Notify order includes TWO FREE SmartPlugs. When you receive your WiFi SmartPlugs, follow the instructions that come with the plug to install it. That will include downloading the manufacturer’s app from the App store.
IMPORTANT: Write down the email and password that you use in this step. A video tutorial is shown to the right. The smart plug can be set up in an electrical outlet near your wifi router.

B. SETUP ADDITIONAL SMARTPLUGS
To install the FREE “non-GFI” smartplug or any additional smart plugs you may have purchased, the video tutorial to the right shows how to install them. Just open the Meross App on your cellphone and tap on the “+” in the upper right corner. Then just follow the step-by-step instructions. The non-GFI smart plug is used to determine if your entire house has lost power. An additional smart plug can be used with GFI Notify to monitor an additional GFI circuit. (Remember: only one non-GFI outlet should be monitored for this purpose.)
Step 2 of 2: Set up your Account Notifications

A. SETTING UP GFI NOTIFICATIONS
Please do not take these steps until you have completed the above step.
On your computer (not your cell phone), click on LOGIN/ACCOUNT to log into your GFI Notify account. Enter the User Name (or email) and Password that you used when setting up your GFI Notify account. Next, click on “SmartPlug Notifications”. Here you need to connect your Meross account by using the User Name and Password you used when installing the Meross smart plugs.
When that is done and you click on LINK ACCOUNT, you will automatically see all of the Meross smart plugs that you installed. Here you can change the name of any plug.
The one allowed non-GFI plug will have a gray box in the notification area. Notifications involving the non-GFI plug (and the GFI plug) will be sent when the entire house loses power. If you purchased additional smart plugs for general home usage, you need to designate them as “Not Set” in the dropdown menu. Click on “Save Devices”.
Click on Configure Notifications. In this section, you can enter up to 3 email addresses and up to 3 cell phone numbers. These would be the contact information for those you want to receive the notifications when there is a power outage, either at the GFI outlet(s) or the entire house. The first notification could take up to 4 minutes. (Note: Notifications are sent after 3 unsuccessful attempts to reach the device – to avoid false alarms) Click on Save Notifications.
Testing of the setup and notifications: After setting up the contacts you want to receive notifications, you can test them by clicking on buttons that say, “Send Test”.
 Now it’s time to test your devices!
Test The Process
Now, plug both plugs back into the electrical outlets. Generally, a power restored notification should appear in less than 1 minute.
Finally, plug the plugs into their final destinations. The GFI plug can be plugged into any outlet in series with the GFI outlet. The non-GfI outlet plug can be plugged into an outlet anywhere in the house. A YouTube tutorial is available regarding the procedures described above.
We recommend that you do similar testing about every 3 months.
